
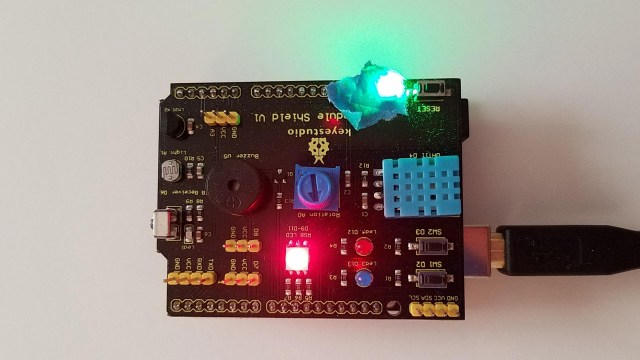
Communicating to Arduino with a K0183 Keyestudio shield , both serial read and serial write. In this example using the RGB leds on pin 9,10,11. The shield had an RGB Led and is used just to show control of it’s LED . You can use this kind of serial comm for controlling other shields or connected devices with some modification.


100,0,0 Red
0,100,0 Green
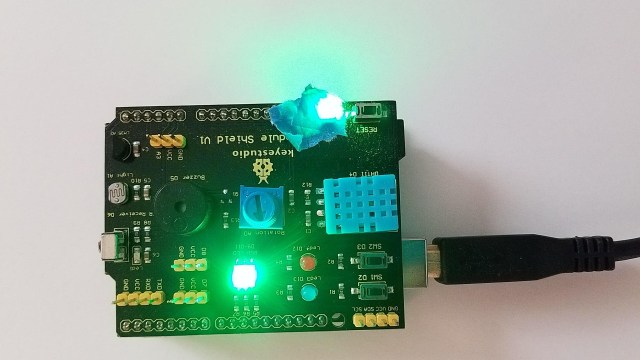
the blue light did not look good on my camera so i did not add it.
below is the modified code used with above LV and K0183 Keyestudio shield.
=
<span id="mce_SELREST_start" style="overflow:hidden;line-height:0;"></span>
/*
Reading a serial ASCII-encoded string.
This sketch demonstrates the Serial parseInt() function.
It looks for an ASCII string of comma-separated values.
It parses them into ints, and uses those to fade an RGB LED.
Circuit: Common-Anode RGB LED wired like so:
* Red Cathode: digital pin 9
* Green Cathode: digital pin 10
* Blue Cathode: digital pin 11
* Anode : GND
*
Used example- communication - ReadASCIIstring code as starting point (changed for Common Anode)
created 13 Apr 2012
by Tom Igoe
modified 14 Mar 2016
by Arturo Guadalupi
modified from original example for K0183 Keyestudio shield
by AC 2019
This example code is public domain.
*/
// pins for the LEDs:
const int redPin = 9;
const int greenPin = 10;
const int bluePin = 11;
void setup() {
// initialize serial:
Serial.begin(9600);
// make the pins outputs:
pinMode(redPin, OUTPUT);
pinMode(greenPin, OUTPUT);
pinMode(bluePin, OUTPUT);
Serial.write("R,G,B example type 100,10,10 then press Send\n"); // help line
}
void loop() {
// if there's any serial available, read it:
// Serial.write("R,G,B example 100,10,10");
// if there's any serial available, read it:
while (Serial.available() > 0) {
// look for the next valid integer in the incoming serial stream: n,n,n
int red = Serial.parseInt();
// do it again:
int green = Serial.parseInt();
// do it again:
int blue = Serial.parseInt();
// look for the newline. That's the end of your
// sentence:
if (Serial.read() == '\n') {
// constrain the values to 0 - 255 and invert
// if you're using a common-cathode LED, just use "constrain(color, 0, 255);"
red = constrain(red, 0, 255);
green = constrain(green, 0, 255);
blue = constrain(blue, 0, 255);
// fade the red, green, and blue legs of the LED:
analogWrite(redPin, red);
analogWrite(greenPin, green);
analogWrite(bluePin, blue);
// print the three numbers in one string as hexadecimal:
Serial.print(red, DEC);
Serial.print(",");
Serial.print(green, DEC);
Serial.print(",");
Serial.println(blue, DEC);
} //cr
}//serial data to read
}//loop
=
being able to control the arduino actions via comm port with labVIEW saved me on a couple of projects with last minute changes.
LabVIEW® is a National Instrument product
This post is not connected or endorsed by any company.
Created to spark ideas on the subject.
Use at your own risk.
